


How to Top up your Aga range cooker's Insulation using our DIY kit
After the lids the most crucial area to your Aga range cooker's efficiency is inside the cooker. This insulation stops all the heat stored in the castings from exiting the cooker in the wrong places; namely anywhere but the ovens or hotplates! This guide accompanies our Insulation Upgrade Kit for use with Aga Range Cookers.
To improve things we need to do two things, top up the loose vermiculite (or diatomaceous earth) that is the bulk of the insulation and fit a new top blanket. To do this we need to remove the hob and lids. We are going to leave the lids on the hob (its one less job to do) so once its free lifting it off is a two person job! This guide is for most two oven Aga range cookers and the main section of 4 oven Aga range cookers. If you have big shrouds across the whole width of the cooker at the back then its a trickier job so get in touch!). You’ll need a cold cooker for this! Lets get started…
What you need for health & safety…
- Dust mask. This we provide. Wear it throughout the process.
- Gloves. Work gloves of some kind are helpful. Insulation of all types can be a mechanical irritant so keep it off your skin.
- Wear a loose sleeved long sleeved top
- Wear safety goggles!
A note on the job...
- This is quite advanced DIY! Its perfectly possible but the instructions below are very general; there are variations of cooker that make things more complicated.
- You may need to do a little problem solving along the way. I'd recommend doing it during the week so that if you need help we are but a phone call away!
- If you have any doubts in advance of purchasing then give us a ring before you buy and we'll have a chat! Finally if you receive the kit and then can't manage the job for some reason then don't worry; we'll arrange a courier to pick it all up and refund you. The only cost you'll have to bear is the return postage!
- Needless to say this is a guide only and we can't accept responsibility for your actions!
- Don't interfere with the flue or any gas/oil parts (you don't need to to do this job!) and if you have any safety doubts or discover anything of concern then contact an OFTEC or GasSafe registered engineer as appropriate. We are neither of these things sorry!
Now onto the job itself...
1... First we need to remove the hob caps in the four corners of the hob. These don’t do anything except hide the hob screws beneath. In theory they should be ‘finger tight’ but in most cases you’ll need to use the sharp edge of a chisel or screwdriver to knock them free and unscrew them. This will damage them but we sell replacement hob cap sets. The hob screws underneath won’t look pretty but will work fine; no need to replace these too.
2... Once you have revealed the hob screws you will need a medium chisel or VERY big screwdriver to unscrew them. They attach to ‘tie rods’ that go right down to the bottom of the Aga range cooker. Soak them in WD40 for 24hrs if tight and then try again. You may need to tap them round with a hammer and chisel/screwdriver if they still won’t undo. If you find that you appear to be moving the whole tie rod with the hob screw then don’t continue; you’ll unmoor it from its base and probably never get it back in without a LOT more dismantling. Ring for advice in this case; more likely with very old cookers!
3...When you have all 4 hob caps and hob screws removed and safely to one side the hob you may still have sealant between hob and worktop and/or hob and rear tiles/backsplash that needs to be cut with a knife and removed first.
4... Now remove the shroud around the flue if present, it should just lift off. Also remove the expansion rings around the hotplate and simmering plate. Close the lids onto a thick towel between edge of hob and lid edge (we don't want any enamel damage!).
5... You should now be able to tilt the hob up from the back by lifting where the flue shroud was. Once you have access under the sides of the hob then lift off with your assistant and place carefully on some thick towels on the floor. It will be rusty and likely have insulation stuck to the underside so beware the mess!
6... Now you are looking at your Aga range cooker with no top on like in the pic below! There will be a lot of rockwool, probably some rust and all sorts of muck. Don’t despair!

7... Remove the rockwool by picking it up slowly by hand and placing it carefully in black bags. The slower you do this the less dust will float around your kitchen! A good tip is to have a vacuum cleaning nozzle taped above the Aga range cooker while it runs to suck in some of the dust created! It will look a little like the below!

8... When you have cleared most of the rockwool (no need for 100% perfection don’t worry) smooth out the existing loose insulation by hand so that you have a nice even layer in the cooker.
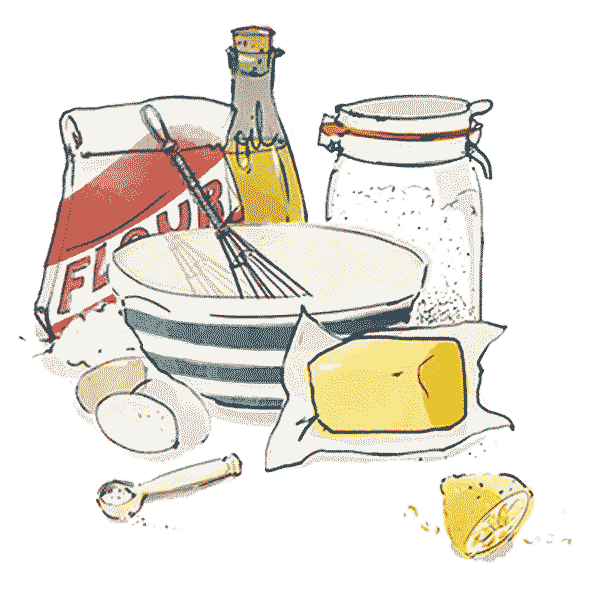
9... Now tip the vermiculite supplied into the Aga range cooker a bit at a time and spread it out as you do so. When you have a nice even layer that is level with the top of the cooker front that will do nicely!
10... Now we need to install your new top blanket. Place on the cooker and then use a sharp knife blade to cut out the shape of hotplate and simmering plate and around the flue. You’ll also need cut outs for the tie rods. The tighter you can do this to the parts involved the better; we don’t want gaps for heat to escape. Keep the sections of insulation removed.
12... Use the trimmings to fill any gaps you can see.
13... Now you simply need to lift the hob top back onto the cooker and secure with the 4 hobs screws. It will probably need some jiggling to get it level again!
Hints & tips...
- Have a vacuum cleaner nozzle taped above the cooker with the vacuum running while you do the messier parts of this work.It will suck in some of the dust created!
- The ‘tie rods’ need to line up with the holes in the hob top when you put it back on. Throughout this process try not to move them too much or you’ll have a lot of fun trying to locate them when putting the hob top back on!
- If the tie rods have wandered slightly then thread a hob screw onto a smallish screwdriver and poke this through the hole in the hob top to hold the tie rod in place while you drop the hob top back on.
>> Are you ready? Then you'll need the Insulation Upgrade Kit for use with Aga Range Cookers or browse the rest of our DIY kits for Aga range cookers.