


< back our our 'Converting Aga range cookers' homepage.
Philip spent a beautiful day in the north east of England on Thursday (he gets around)! I've never posted a set of pics showing a job quite like this so I hope you enjoy them despite Philips terrible photography. He was not drunk when taking them I promise, odd how he has not quite grasped the concept of focus yet!
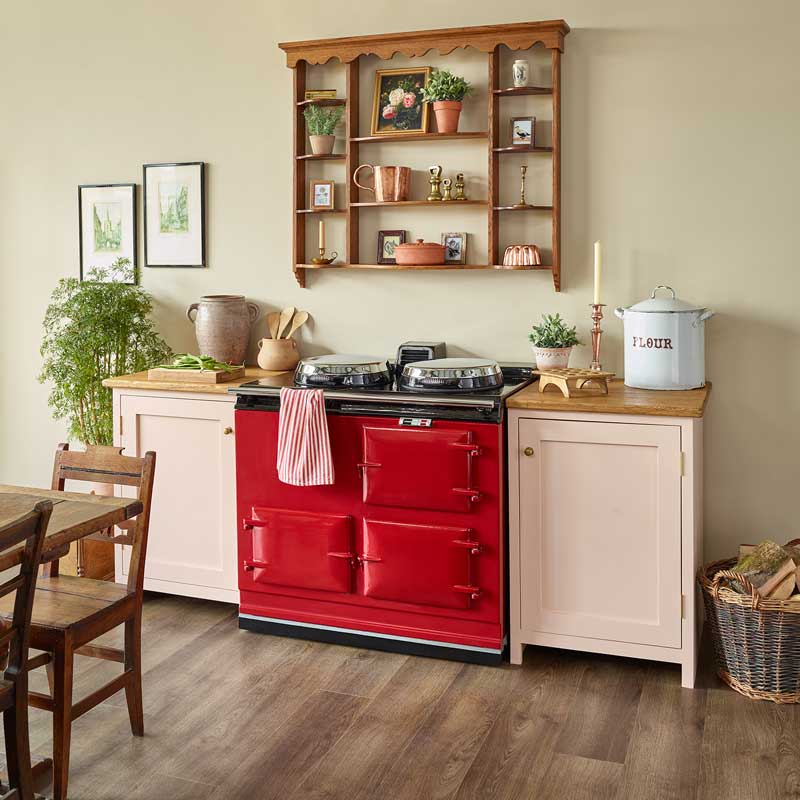
The task here was to dismantle the green Aga range cookerand move it into a new kitchen extension. At the same time we were to convert it to our 'Electrikit' system, fit re-enamelled hob and lids and change the colour to dark pewter.
There is loads of info under each pic, what do you think?

This is a two oven oil fired Aga range cooker from the late 1990's. With a new extension and a new kitchen on the way it was time for a refresh. We are going to move the cooker, convert to our 'Electrikit' and re-enamel it. Converting to electric is a great idea when moving a cooker.
No new oil pipes need to be laid, no flue needs to be installed and it can go anywhere. Between the running cost savings and less spending with builders on flues etc its a no brainer. We don't charge for relocations at all when converting as we have to dismantle the cooker entirely anyway!

I just don't know how he does it, Philip always ends up in the loveliest spots on sunny days!

Right, lets get messy! In this picture the hob and lids have been removed and the hose on the left has sucked enough insulation (vermiculite) out to allow the main barrel below the hotplate to also be removed. You can see in the control door empty space where the burner was!

Bang and the cooker is gone! This pic is a perfect example of why Philip is great (don't tell him I said this, it will go to his head). Dismantling an entire Aga range cooker creates mess, lots of mess.
Philip though is a tidy worker. It makes for a better job as you don't lose spanners and nuts in piles of dust but it also makes for a less stressful job for our customers.
No one likes cleaning up after tradesmen. Our target is always to leave a kitchen as clean as we found it. Not always possible but we'll try!

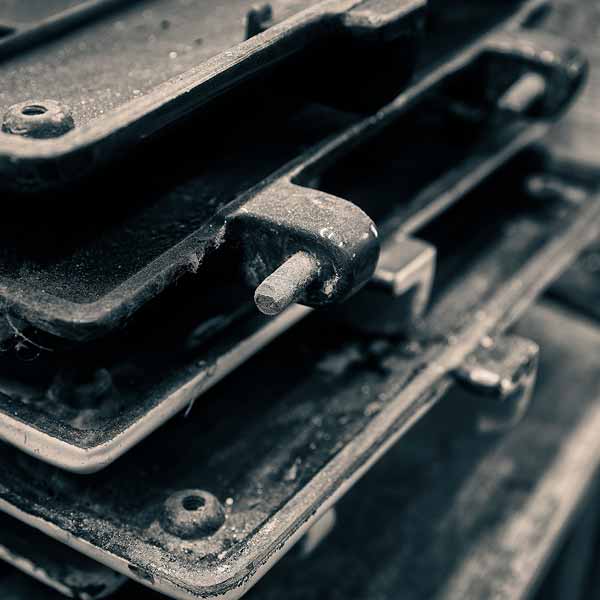
So here goes the rebuild. The base plate and rear panel are in place along with the tie rods. These rods screw into the base plate and the hob screws below your hobs caps (shiny discs on hob of Aga range cooker).
They hold everything 'tight' and secure under compression. The plinth that the cooker sits on has been prepared in advance for us so the cooker ends up the same height as the worktop. This is a very neat job!

First the ovens are assembled inside the rear panel and two sides and then the front is bolted onto the ovens. The 'tunnels' are the thin section of aluminium you can see between the oven and front.
These are new of course. You can just see the housing for the thermometer on top of the oven; that is where the end of the thermometer bulb ends up!

Top is on, hotplates are installed and ovens are ready. Now its time for the wiring! The ovens are controlled by a control unit that controls the temp in the top oven very accurately (its a digital unit).
The lower oven temp is relative to the top. Both hotplates are controlled independently, you can boil water on both all day long if you want to!

Once the wiring is done its time to set things up. We test every Aga range cooker is working properly before we leave if possible. The cooker requires two 13 amp switched fused spurs like these.
One powers the two hotplates and the other the ovens. If all are running together the cooker draws 4.6kw (two kettles would draw 6kw). The joy of an 'Electrikit' Aga range cooker is there are no oil or gas pipes and the attendant risks they have to run through your kitchen. The fact it doesn't need a flue is another bonus!

Here is the control panel. Its all very simple and robust, not a huge amount to go wrong (and we have a 2 year no quibble warranty if it does!). The oven controller is digital (not on in this pic) so just displays the temp you want. Simple on/off switch if you are going away.
It remembers set temp so if you have been away for weekend and get home on a Sunday afternoon you just need to turn on. The ovens will be ready to go in about 1 hr 45 mins or so. The hotplates each have an individual controller so you can have two hotplates, two simmering plates or none at all.
They heat up from cold in 15 mins so you can leave off till you get in from work. The ovens most people leave on so they are ready for action and to provide that lovely Aga range cooker warmth!

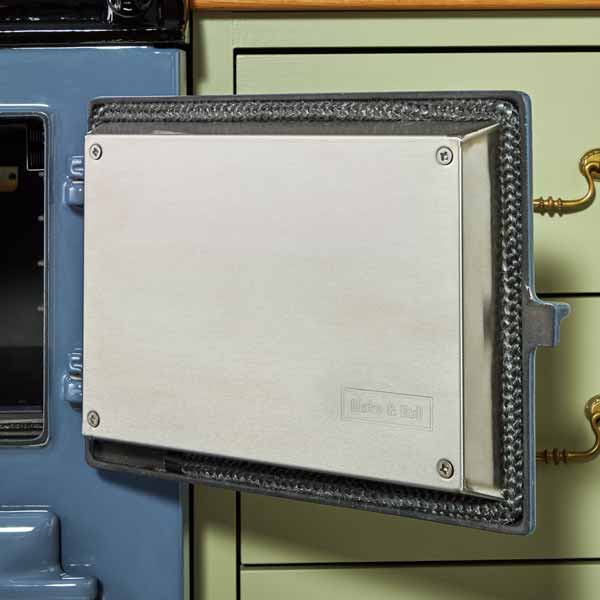
Done and done! No flue required so the rear cutout from the hob is 'blanked' with a section of black enamel.

Love the hob covers in this pic. Good bit of product placement here from Philip, gold star! What do you think of the change in this cooker?!
< back our our 'Converting Aga range cookers' homepage.
< See our range of Reconditioned Electric Aga range cookers.


