


Overview:
By: Christine
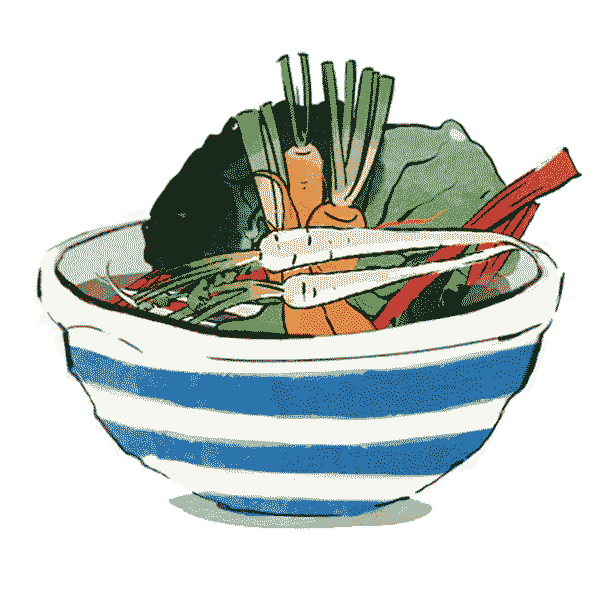
Meal Type: Accompaniment
Cook time: 25 Minutes
Servings: One Loaf
When we sat down to start compiling the Blake & Bull guide to baking in a range cooker, the natural source for real life experience and tried an tested methods, was you lovely lot!
We are already super lucky to have advice and tips from the eminent Sarah Whitaker in our arsenal, and even more so now to have @stevecooksmakesbakes and Christine on board!
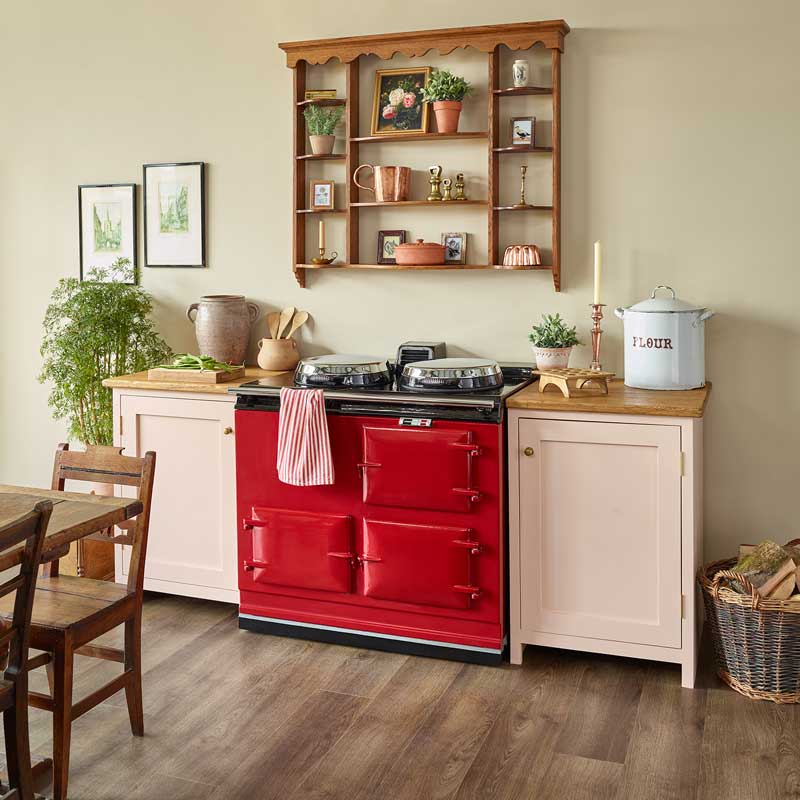
Steve and Christine are home cooks, practiced bakers, and explorers of food, all created in their range cookers. One a 4 oven mains gas, and the other a 2 oven with electric module.
We asked Christine why she bakes -
"We all need to eat and taste should be a pleasure. I don’t like ready made supermarket baking because it is usually sweet, low on flavour with a homogenous texture. And it costs too much! If I make something, not only is it flavoursome, it is satisfying in a way that shop bought is not. I like baking. There is nothing nicer that rustling something up, using skills that are relaxing, and bringing others pleasure with the result."
Here is Christine's recipe for a 'Daily Loaf'- This recipe is the perfect fit for our NEW 1lb Loaf Tin
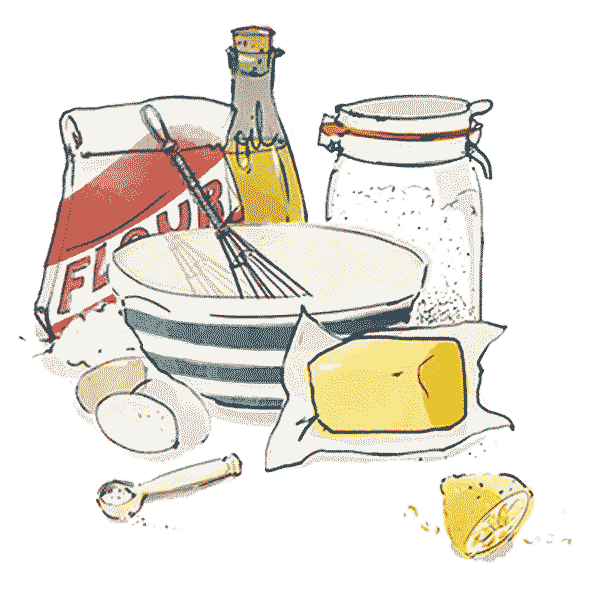
Ingredients:
You may need...
- A 1lb loaf tin
- A mixing bowl and worktop space for kneading
- A damp bread cloth or bag for proving
- Extra flour for dusting
- A measuring jug
- A cooling rack
- Patience and strong arms!
Method:
Right, lets get cooking!
1. Either put your flour in a mixing bowl, or on a clean worktop with space to knead
2. Make a well in your flour
3. Add your salt to the flour, just to the side, not the middle (salt can stop the yeast doing it's good work if it comes into contact directly)
4. Add your yeast to the warm, NOT HOT, water and stir, then combine with your oil.
Note -
"Fast yeast, like Allinson, can be added directly to the flour and is recommended for hand baking and bread machines. The other type is Dried Active, that has to be started off in fluid with a little sugar and left until it has a head on it (like beer) and states on the tin that it is for hand baking only.
If I were to use the former, I could add olive oil (or melted butter) to the flour and add quite a bit of fluid. If the dough seemed dry, then more fluid could be added. This would mean I wouldn’t end up with an over wet dough (very scary when starting out!).
But with Dried Active yeast that needs to be started with fluid, perhaps starting it off in a smaller volume of fluid - this tin says weigh 7g and add to 150mls water - when ready add this to flour and more fluid as needed. I tend to use the same flour so I know that for me it will be about 250-260mls." Christine
5. Pour the liquid into your well, bit by bit, and combine to make a dough - Christine uses a palette knife to bring her mix together before using her hands - "I use my left hand to bring the dough together, leaving my right hand clean. I can then tip a little olive oil into the empty bowl with my clean hand, rub it around popping the dough back in ready for proving."
6. Knead and work the dough until it is soft, and a soft dent with your finger 'bounces back' - around 6 mins of constant kneading. Rotate your dough at intervals, stretch it out and fold it back in on itself, knead and repeat. Keep it moving, enjoy it, even put on some music! Or use a food processor to combine with a kneading arm! Lightly oil the sides of your mixing bowl. Set your dough to prove, it should double in size. Use your damp cloth or bag to cover your bowl and place in a warm, not too hot, place.
7. Butter & flour your tin, with excess flour tapped out ( pop around a tablespoon of flour in your tin, and rotate the tin lightly tapping in your hands until all is covered, tap out any remaining flour) ready for knocking back and shaping. Use 'block butter' - NOT spreadable and definitely NOT OLIVE OIL, which will cause sticking.
8. Knock-back your dough(follow the kneading instructions), and roughly shape, pop it in your prepped tin to rise again for it's second prove. It'll take around an hour to double in size depending on the heat of your kitchen.
Baking - These are Christine's tips and photos!Around 25 mins in a roasting oven - It is cooked when the top is nice and brown and the inside sounds hollow when you tap it.
 Buttered and floured tin, with excess flour tapped out ready for knocking back and shaping.
The Flour Christine uses - "I heard a baker on the radio say she brought the best flour and therefore used organic. I thought this was good advice - good flour, good bread; going to the effort of making something by hand deserved good ingredients. So I tend to use Duchy organic but have also used Dove."
Kneading - "Using a little olive oil on the work surface helps with kneading rather than using flour. If the dough is sticky, the tendency is to keep adding more flour rather than ‘working through’ the sticky stage. I have a granite worktop that requires neither flour or oil, but my old work surface was a formica style top and sticking was an issue."
 These are Christine's " lovely, old gloves ".. Fingers for ease of use and easy lifting of tins, and nice and long for reaching in the cooker - a future Blake & Bull product maybe..? Christine's loaf here for it's 2nd prove.
Proving -"I don't use my Aga range cooker heat - the room temperature on my work surface is 20 - 20.5C. I just leave it here to prove gently. When I first started with bread, all the books said to leave the dough for an hour until it has doubled its size. I would be going back to it, checkout was doing ok. An hour was up - had it doubled? If it hadn’t, was this a problem? I decided to relax and leave it 3 hours to see what would happen - it filled the bowl! I now leave the bread for about 2 hours and get on with other things. I factor into my day when bread making that there will be this ongoing process over some time.
Covering tip! Be Green! - "You can use a tea-towel that has been wetted and rung out to cover the bowl (eco friendly and can be used again later to cover the bread in the tin)or put the bowl in a clean kitchen bin bag that can then be used as intended to line the kitchen bin once the bread is finished."
 Christine says that the tin will wipe clean, and the bottom is evenly browned too. "I thought the top of the loaf was browning a little too much so put the tin on the Roasting Oven floor to finish off."
Water in the oven - "The purpose of water is to create steam during the first 5-10 minutes to keep the crust soft, thus enabling the bread to undergo that last bit of expansion. I therefore put a small metal pan on the oven floor to get hot. I put the loaf on the shelf, pull the tin forward and pour in just boiled water - hiss - close the door! Nice brown crust, but not hard. Looking at the loaf when it comes out of the oven, it has risen quite a bit whilst being inside."
 A perfect 'daily loaf' after 25-30 mins of baking, don't be afraid to check after 20 - YUM!
How to store it:"I have an enamel bread bin as this was what my mum used. Easy to wash and keep clean and dry. I put a piece of clean baking parchment in the bottom: nothing worse than finding a bit of mouldy bread in the bottom of the bread bin as this will eat into the enamel. My standard loaf lasts about 5 days"
Do let Christine know how you get on! hello@blakeandbull.co.uk
>>Interested in more cooking tips and tricks? Take a look at our recipes for Aga range cookers.
>>Alongside our baking tins for range cookers, Blake & Bull also offer a number of other accessories, including spare parts for use with Aga range cookers, lid covers and kettles.